
The Basics of Product Photography: A Simple Guide for E-Commerce Beginners
Hey there, fellow e-commerce entrepreneurs! We all know that in the online world, the way your products look can make or break your business. That's why nailing product photography is a must for any seller. A fantastic product photo can be the deciding factor in whether a customer hits that "add to cart" button or not. However, let's be real, product photography can be tricky, especially if you're just starting out. So, buckle up and get ready to learn the basics of product photography for e-commerce beginners in this post.
Equipment for Product Photography
When it comes to taking product photos, the camera you use is crucial. You don't necessarily need to have an expensive DSLR camera to take great product photos, as even a mobile phone camera can do the trick. However, make sure that the camera you use has manual controls, such as the ability to adjust the aperture, shutter speed, and ISO settings. These controls allow you to have more creative control over the image and make adjustments according to the lighting and composition.
Speaking of lighting, this is another essential element of product photography. Whether you choose to use natural light or artificial lights, make sure that you have a diffuser or reflector to control the light. A diffuser can soften harsh light and create a more even spread, while a reflector can bounce light onto the product to fill in shadows and add depth. Lighting can make or break your product photo, so don't be afraid to experiment with different setups until you find the perfect one. To maintain the most accurate colors of your products, make sure the bulbs you purchase are rated CRI 90 and above.
Lastly, choosing the right background is crucial. You want a background that enhances your product without stealing the show. A plain white or black background can be an excellent option for most products, but if you want to add some personality, you can choose a textured or patterned background that complements your product. Just make sure that the background doesn't distract from the product itself. Remember, the focus should always be on the product, not the background!

Natural bath and body care by Bee Simple on Etsy
Composition and Styling for Product Photography
Composition and styling are crucial elements of product photography that can make a significant difference in the overall appeal of your product images. Here are some tips to help you master composition and styling for your product photography:
The Rule of Thirds is a popular composition technique that involves dividing the frame into thirds and placing the subject at the intersections of the lines. This creates a visually appealing composition that draws the viewer's attention to the subject. Don't worry if you're not a professional photographer; you can use the grid feature on your camera or phone to guide you in placing the product in the right position.

Engraved wooden spoons by A Few Spare Moments
Angle and perspective are also crucial in creating captivating product photos. Don't be afraid to experiment with different angles and perspectives to find the best way to showcase your product. Shooting from above or at a low angle can create a unique and interesting perspective that makes your product stand out.
Color, texture, and contrast are essential in creating a visually appealing product image. Try mixing and matching colors and textures to create a cohesive image that highlights the product's best features. Use contrasting colors and textures to add depth and interest to your photos.
Enhance the appeal of your products with creative styling so that your photos are more relatable to your target audience. Get creative and add some props to showcase your product's unique features and make it stand out. Just make sure that the props don't steal the focus away from your product. Remember, your product is the star of the show!
Learning composition and styling is critical to helping you create visually stunning images that showcase your product in the best possible light. Don't be afraid to experiment with different techniques and styles until you find the perfect fit for your product. With practice and a bit of creativity, you'll be taking stunning product photos in no time!
Editing and Post-Processing for Product Photography
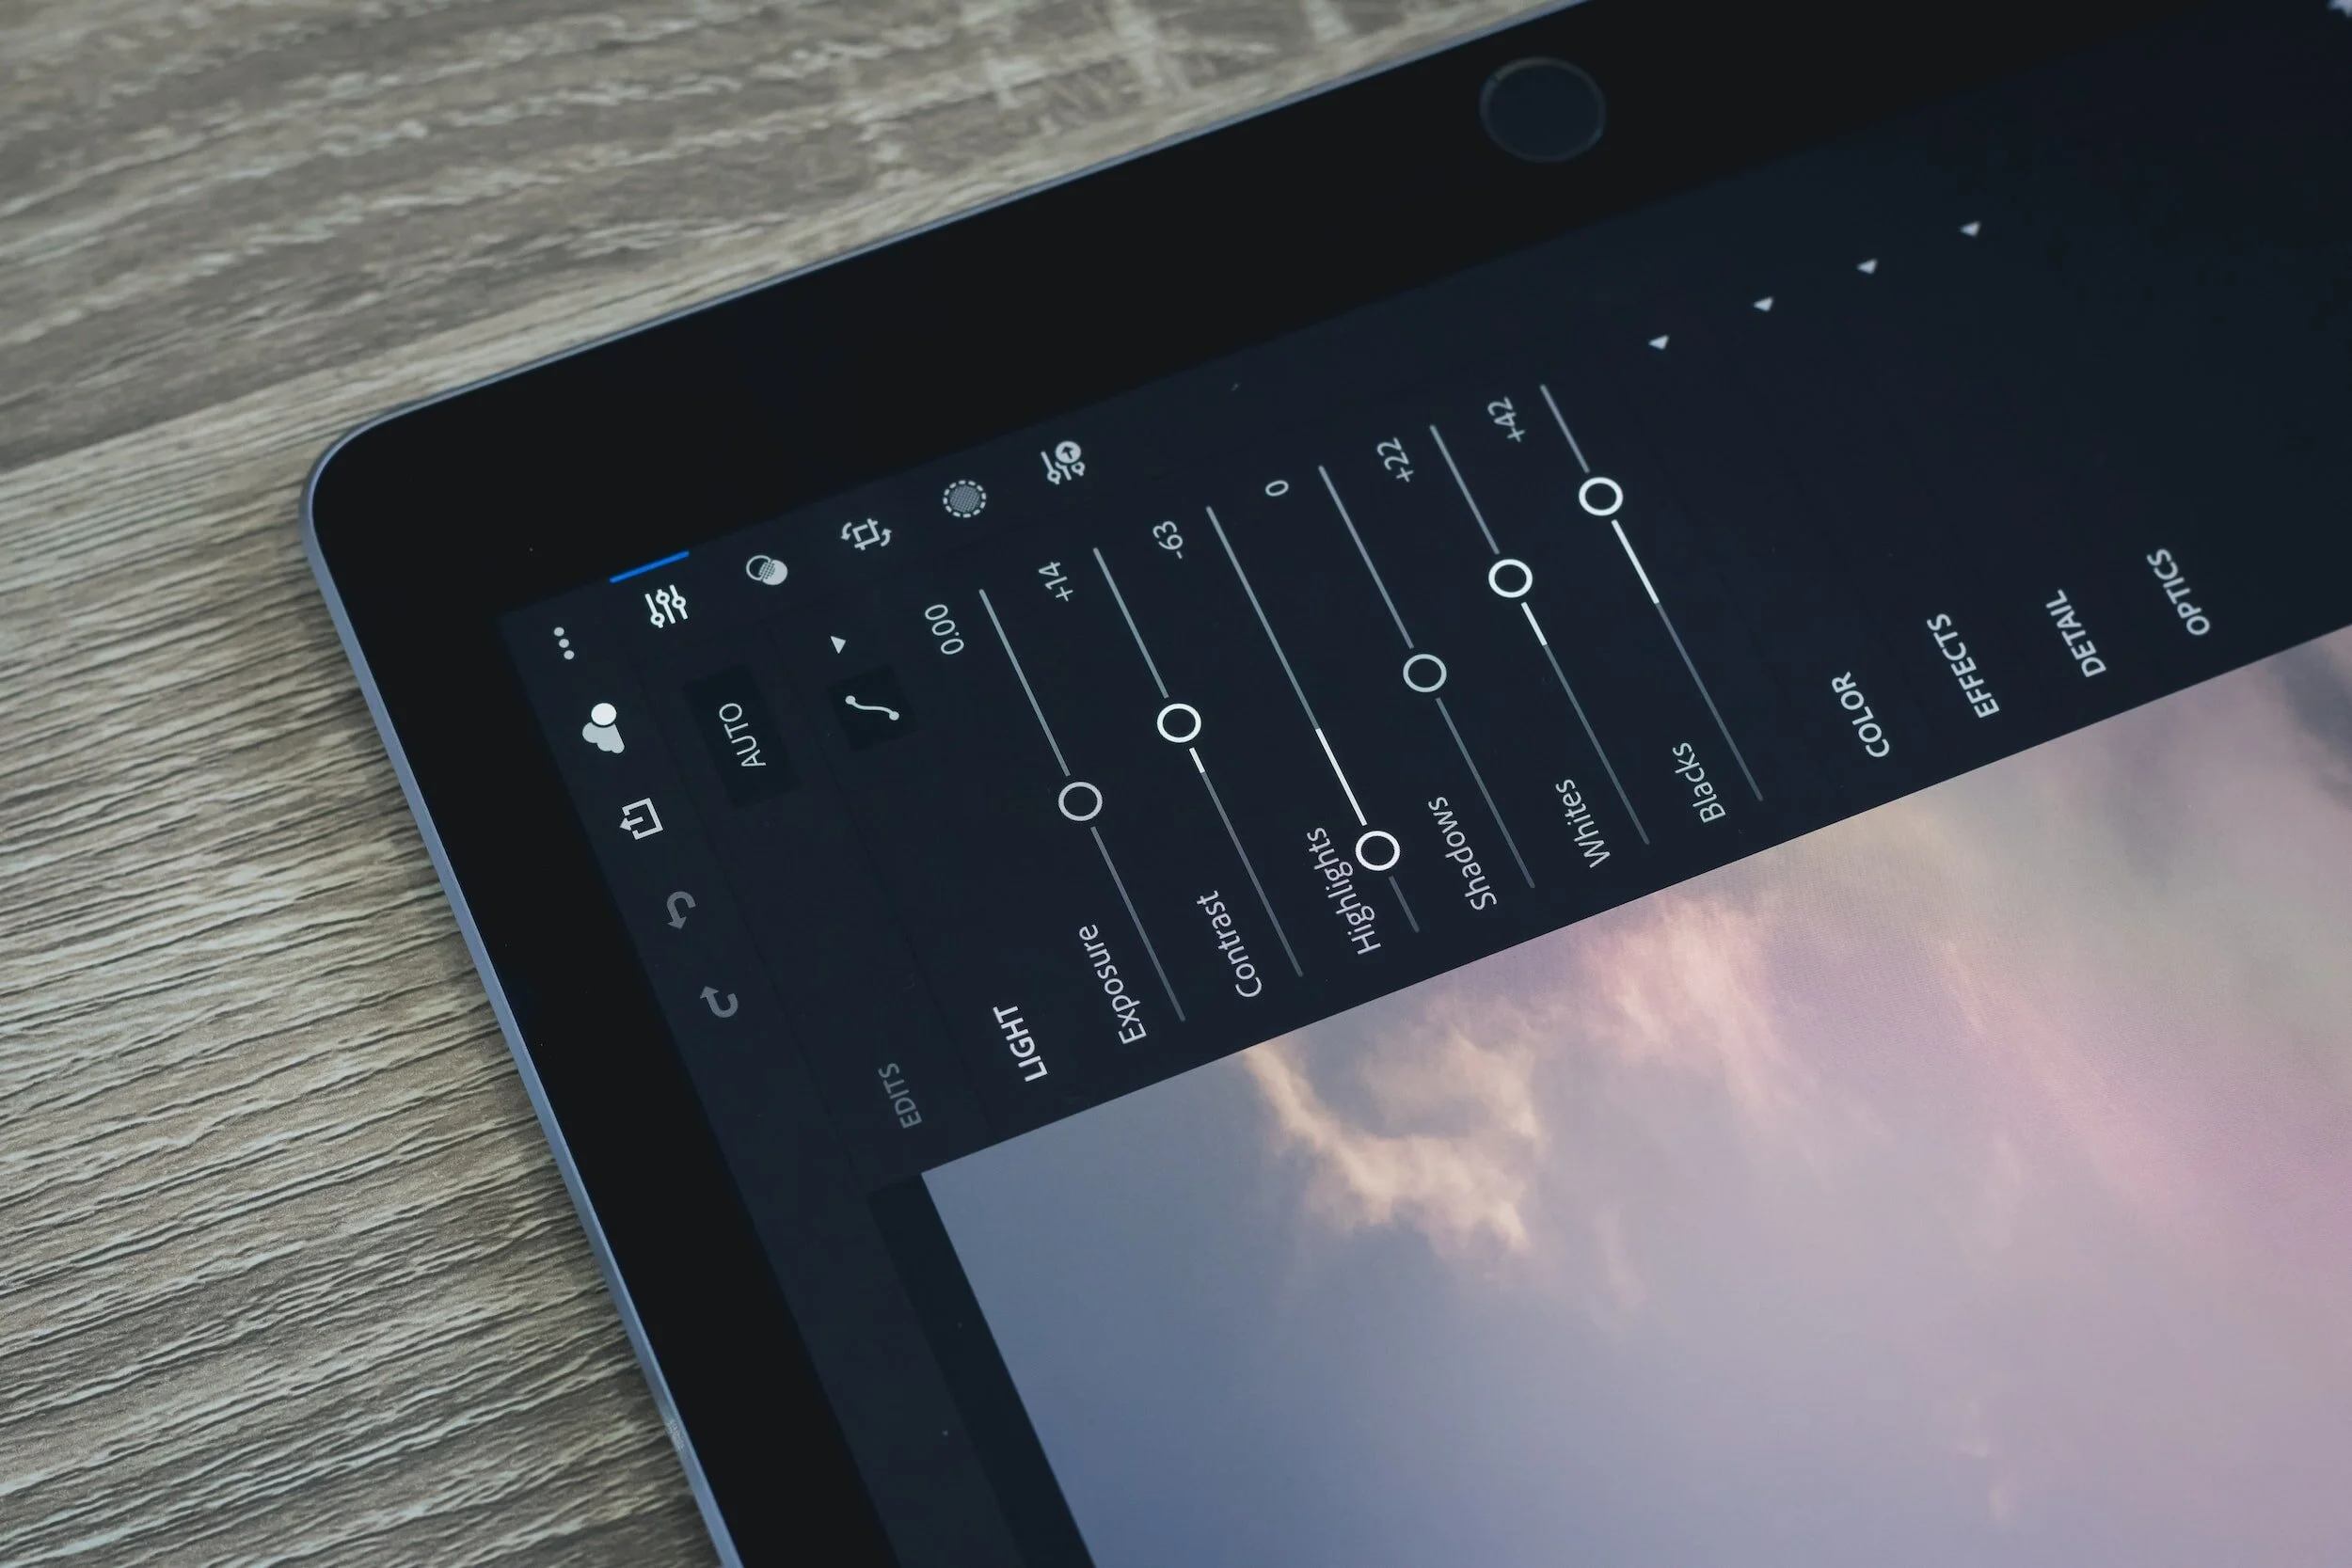
Editing is a crucial aspect of product photography that can elevate your photos from good to great. 99% of images you see marketed are edited. You’ll want to choose the right software that fits your needs and skill level. There are plenty of options out there, from basic photo editing apps on your phone like Canva to more advanced software like Adobe Photoshop or Lightroom. Do some research and experiment with different programs until you find the one that works best for you.
Once you've chosen your editing software, start with some basic adjustments like exposure, color, and sharpness. Adjusting the exposure can help bring out details in the highlights and shadows, while tweaking the color can make the product stand out more. Sharpening the image can make it look crisper and more detailed. Don't overdo these adjustments, as it can make the image look unnatural.
Learn more about Adobe Lightroom
If you want to take your editing to the next level, try out some advanced techniques like masking and retouching. Masking allows you to select specific areas of the image and apply adjustments or effects to them, without affecting the rest of the image. This can be useful for brightening up the product without overexposing the background. Retouching can help remove any imperfections or blemishes on the product, making it look even more polished and professional.
Overall, editing can be a powerful tool in creating stunning product photos that catch the viewer's eye. Just remember to keep it subtle and natural-looking, so your product still looks like itself. With some practice and experimentation, you'll be able to edit your photos like a pro and create stunning images that showcase your products like they deserve.
Best Practices and Tips for Product Photography
Some things to consider when photographing your products are your target audience and your brand image. Think about what your ideal customer would want to see and what kind of image you want to project. Your photos should be aligned with your brand's overall look and feel to create a cohesive and recognizable visual identity.
Consistency is also key in creating professional-looking product photos. Keep things consistent in style, lighting, and editing to create a reliable and polished look across all your photos. This will help build trust with your audience and make your brand more recognizable.
Planning and organization are crucial for a smooth and successful photoshoot. Plan your shoot in advance, taking into account the time of day, location, and weather conditions. Keep your props and equipment organized to avoid any last-minute confusion or delays.
By keeping these additional tips in mind, you'll be able to create product photos that are not only visually stunning but also effective in attracting potential customers and building your brand identity.

Having great product photos is a must for the success of your e-commerce business. By utilizing these tips and tricks, you'll be able to create captivating images that will make your products stand out and leave a lasting impression on your customers. So grab your camera, experiment with different techniques, and watch your sales soar!
Feeling stuck or overwhelmed and would like the task of photography taken off your plate? Check out my available service packages or join the Photo Fox Den product photography subscription club! Learn more here!
Hey there, just a heads up that some of the links on my website are affiliate links. This means that if you click on them and buy something, I might earn a little cash on the side. Just remember, you're always free to shop around and use non-affiliate links if that's your thing. But if you do decide to use my links, I appreciate your support and promise to do a little happy dance in your honor.


